I like using stitching in digi layouts, although I have never put a paper layout near my sewing machine.
Until yesterday I used bits of stitching that I’d found in freebies or bought sets, which can be frustrating.
Then yesterday while browsing a wonderful site full of free photoshop brushes I discovered a set of sewing stitches. Warning – the brusheasy site has masses of fabulous free brush sets, once you enter you may lose all sense of time.
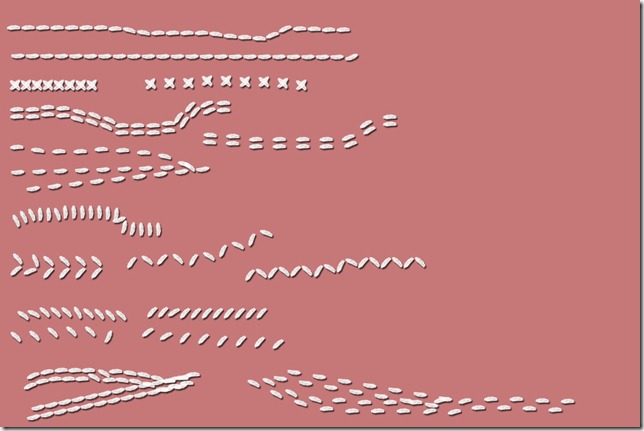
So now I can create whatever I want in whatever colour I want. I love the brushes tool in PSE because it allows so much control over colour and size. I’ve added drop shadow to these stitches because I think it looks more realistic.
If you haven’t download brushes before, accessing them from within PSE is easy. You can access the file each time you want to use them or you can load them so that they always appear in the set of brushes.
To access the brushes
- Select the brush tool
- Click the down arrow next to the picture of a brush stroke and the brush selection box will appear
- Click on the >> to the right of the box
- Select Load Brushes. A navigation box will appear so that you can navigate to the folder with the brush file. Double click on the brush file and the brushes will appear in your brush menu ready to use.
To load the brushes into PSE so that they are always there when you look at brush sets.
- Make sure Photoshop is closed
- Find the location of your Photoshop files – probably under Program files on C:, then under Adobe
- Within the Photoshop Elements files select Preset, there will be a folder called Brushes within that folder
- Now copy your new brush files into the brushes folder.
- Start up PSE and your brushes will be showing in the brushes selection dropdown list.
I know several of you have recently started PSE and may not have played with brushes. Here are the basics
- Create a new layer and make sure it is the top layer
- Select the brush tool from the toolbar that is down the left of the screen – a new toolbar will appear at the top of your screen
- To choose the brush style that you want. Click on the arrow next to the picture of a brush stroke. To see the brush collection, click on the down arrow next to the name of the brush set and you will see the list of brush sets that are installed.
- Choose the size that you want by clicking on the down arrow next to the size and then moving the bar. If you place the cursor over your layout you will see the selected size in comparison to your layout
- The brush will use the selected foreground colour (the one that is showing as the top square at he bottom of the toolbar) so make sure it is the colour that you want.
- To add the brush onto your layout, click in the place where you want the brush. If you don’t like it then use the undo button and try again. For the stitches you want to draw a line rather than have a single stitch – just draw a line with the mouse while holding down the left button. To create a straight line hold down shift while you draw the line. To draw a straight line that will end where your last line ended, move teh cursor to where you want the start of the line and hold down shift and click – magic.
- You can move and resize the brush using the move tool. Select the move tool and click on the brush layer to make the moving box appear around the brush shape and you can then move as normal.
And if adding drop shadow is an unexplored area
- Click on the layer that contains the stitching
- From the top menus, select Layer, Layer Styles, Style Settings
- Select the box beside drop shadow.
- Click OK
Let me know if any of the instructions are unclear.
Look forward to seeing some custom stitching on your digi layouts.

